Connect Webflow to Rankauto
Rankauto connects to a Webflow CMS Collection through a standard authorization — you approve access through your own Webflow account, pick a site and collection, and map your fields once. From then on, finished articles publish straight to it.
Before you begin
Make sure you have:
- Owner or Admin access to the Webflow site you want to connect
- A CMS Collection on that site with a Title and a rich text field for the article body
Publish your Webflow site at least once first
Webflow won’t let anything publish to a CMS Collection until the site itself has gone live at least once. If your site was only ever created and never published, open it in the Webflow Designer and click Publish before connecting Rankauto — a brand new site with nothing pushed live yet is the single most common reason a first article stays stuck as a draft on Webflow’s side.
Connecting your Webflow site
No API keys to create — Webflow handles the authorization through your own account.
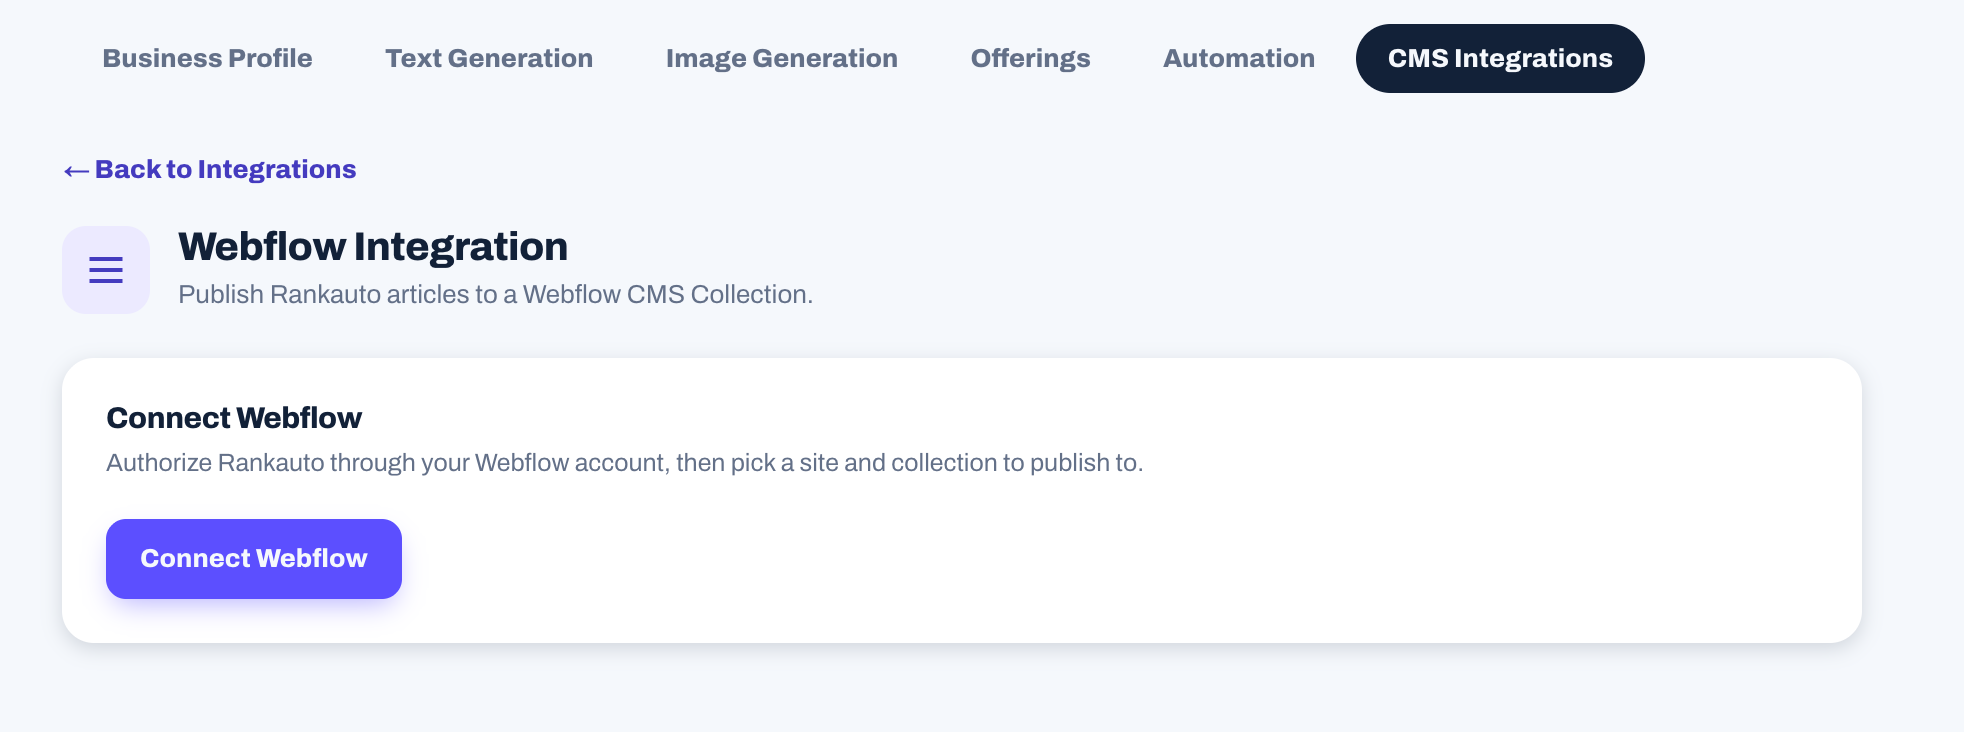
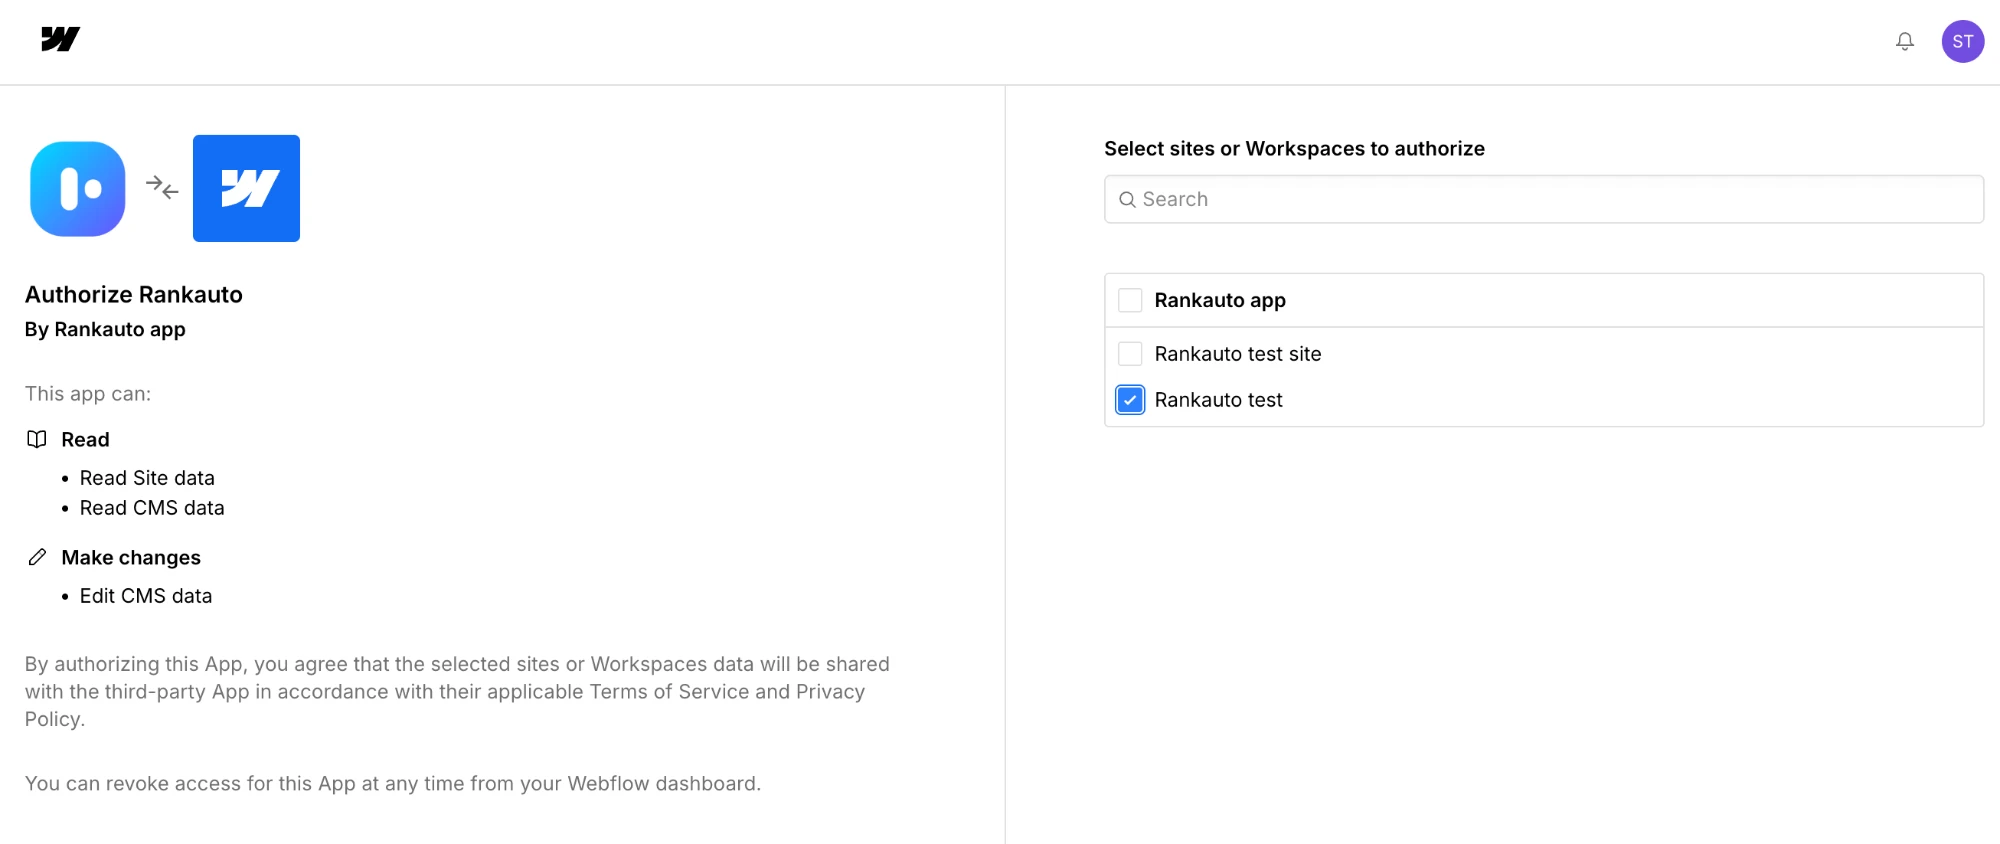
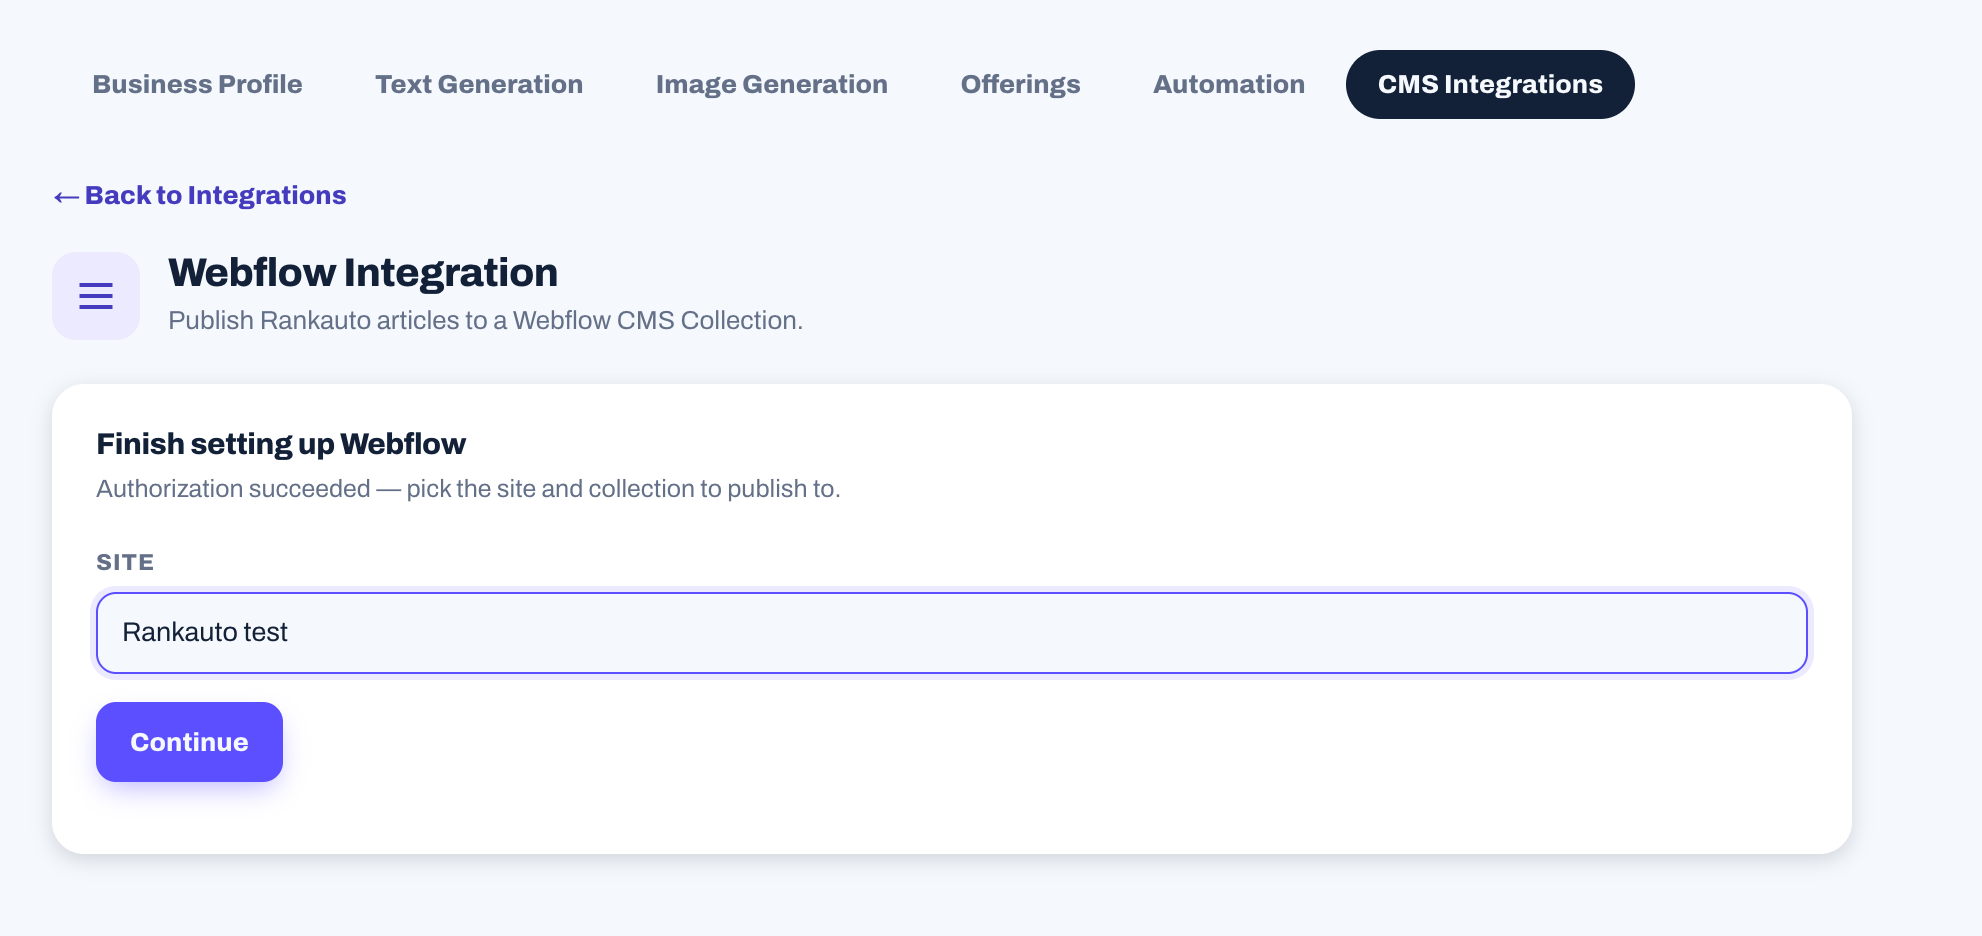
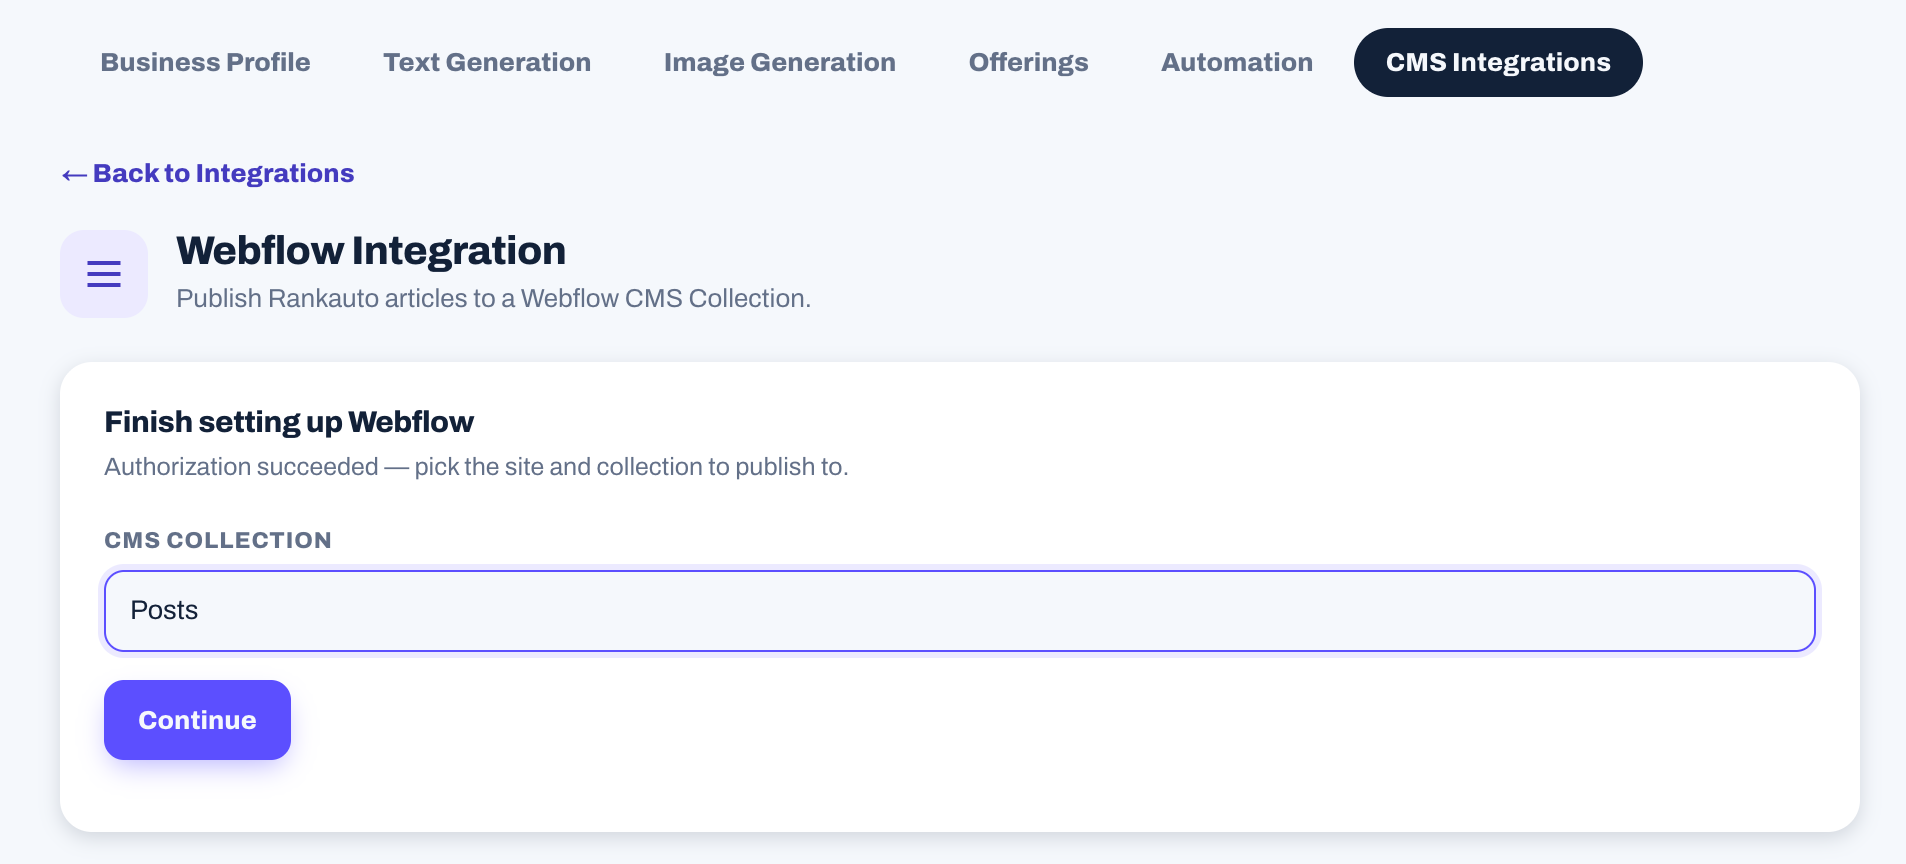
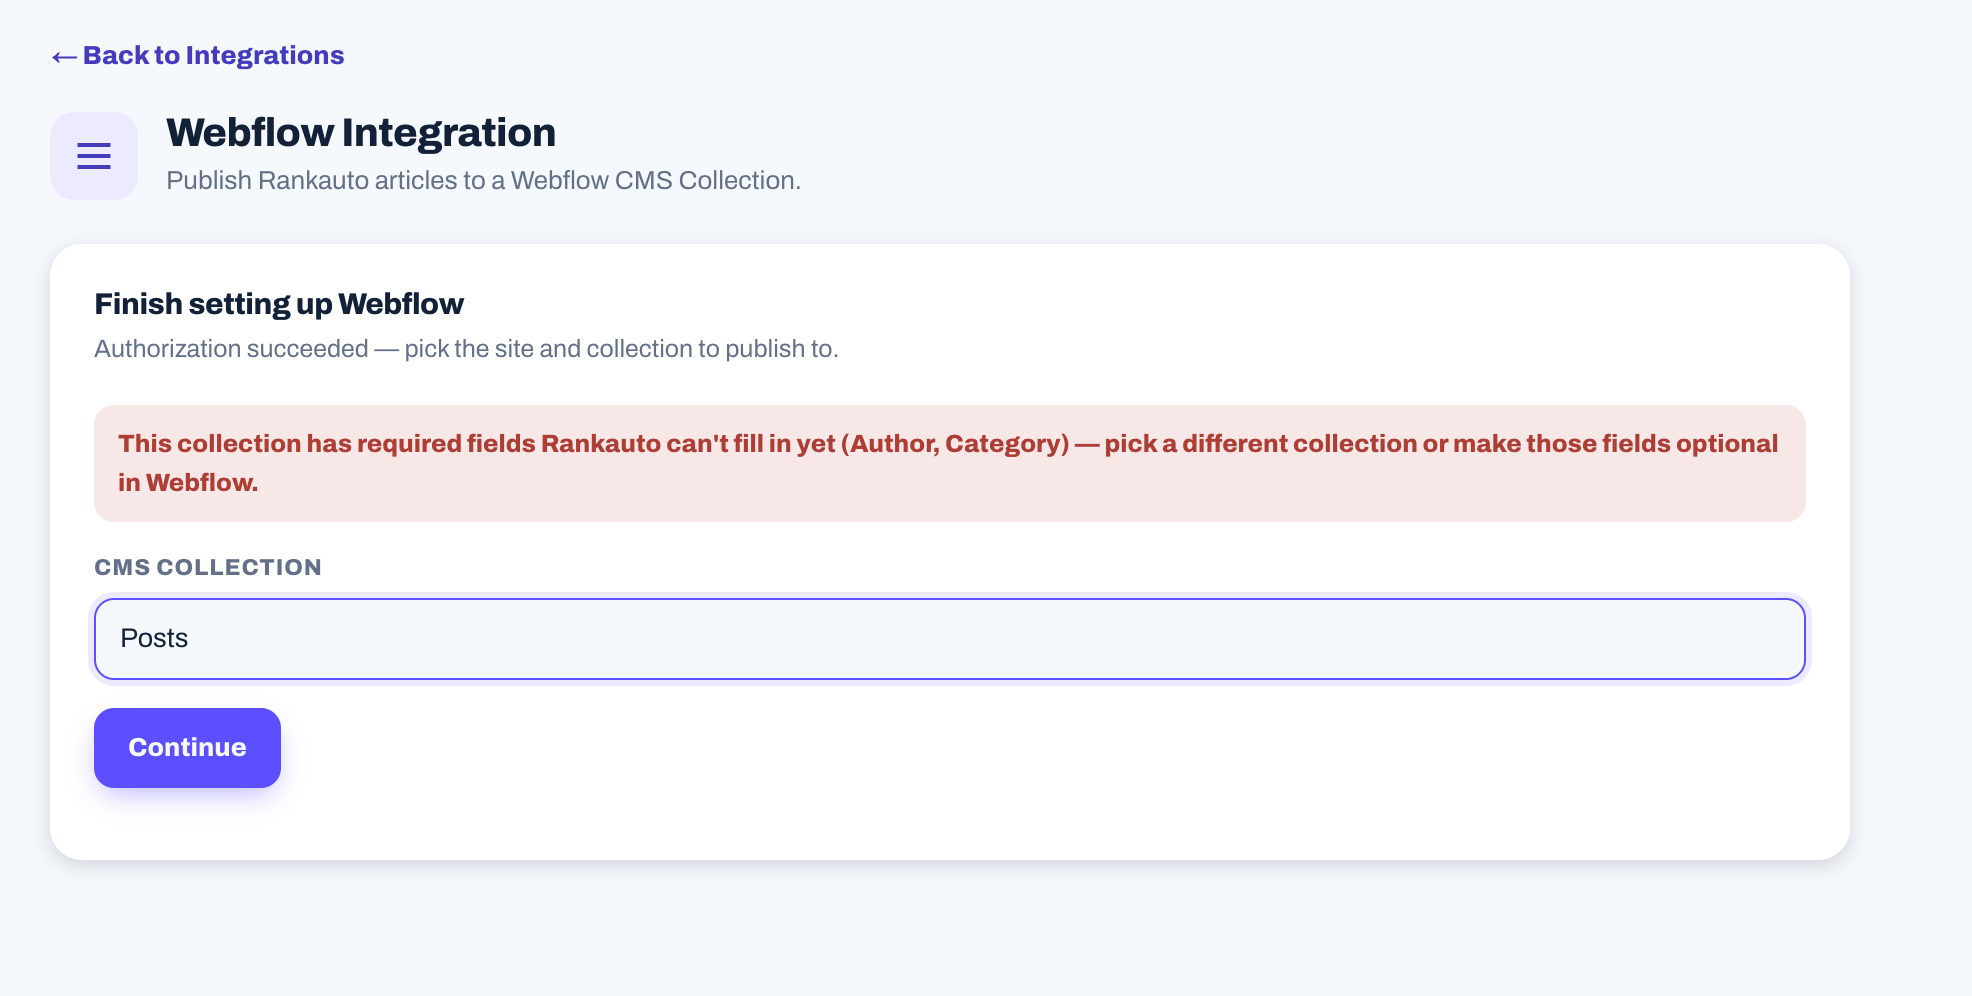
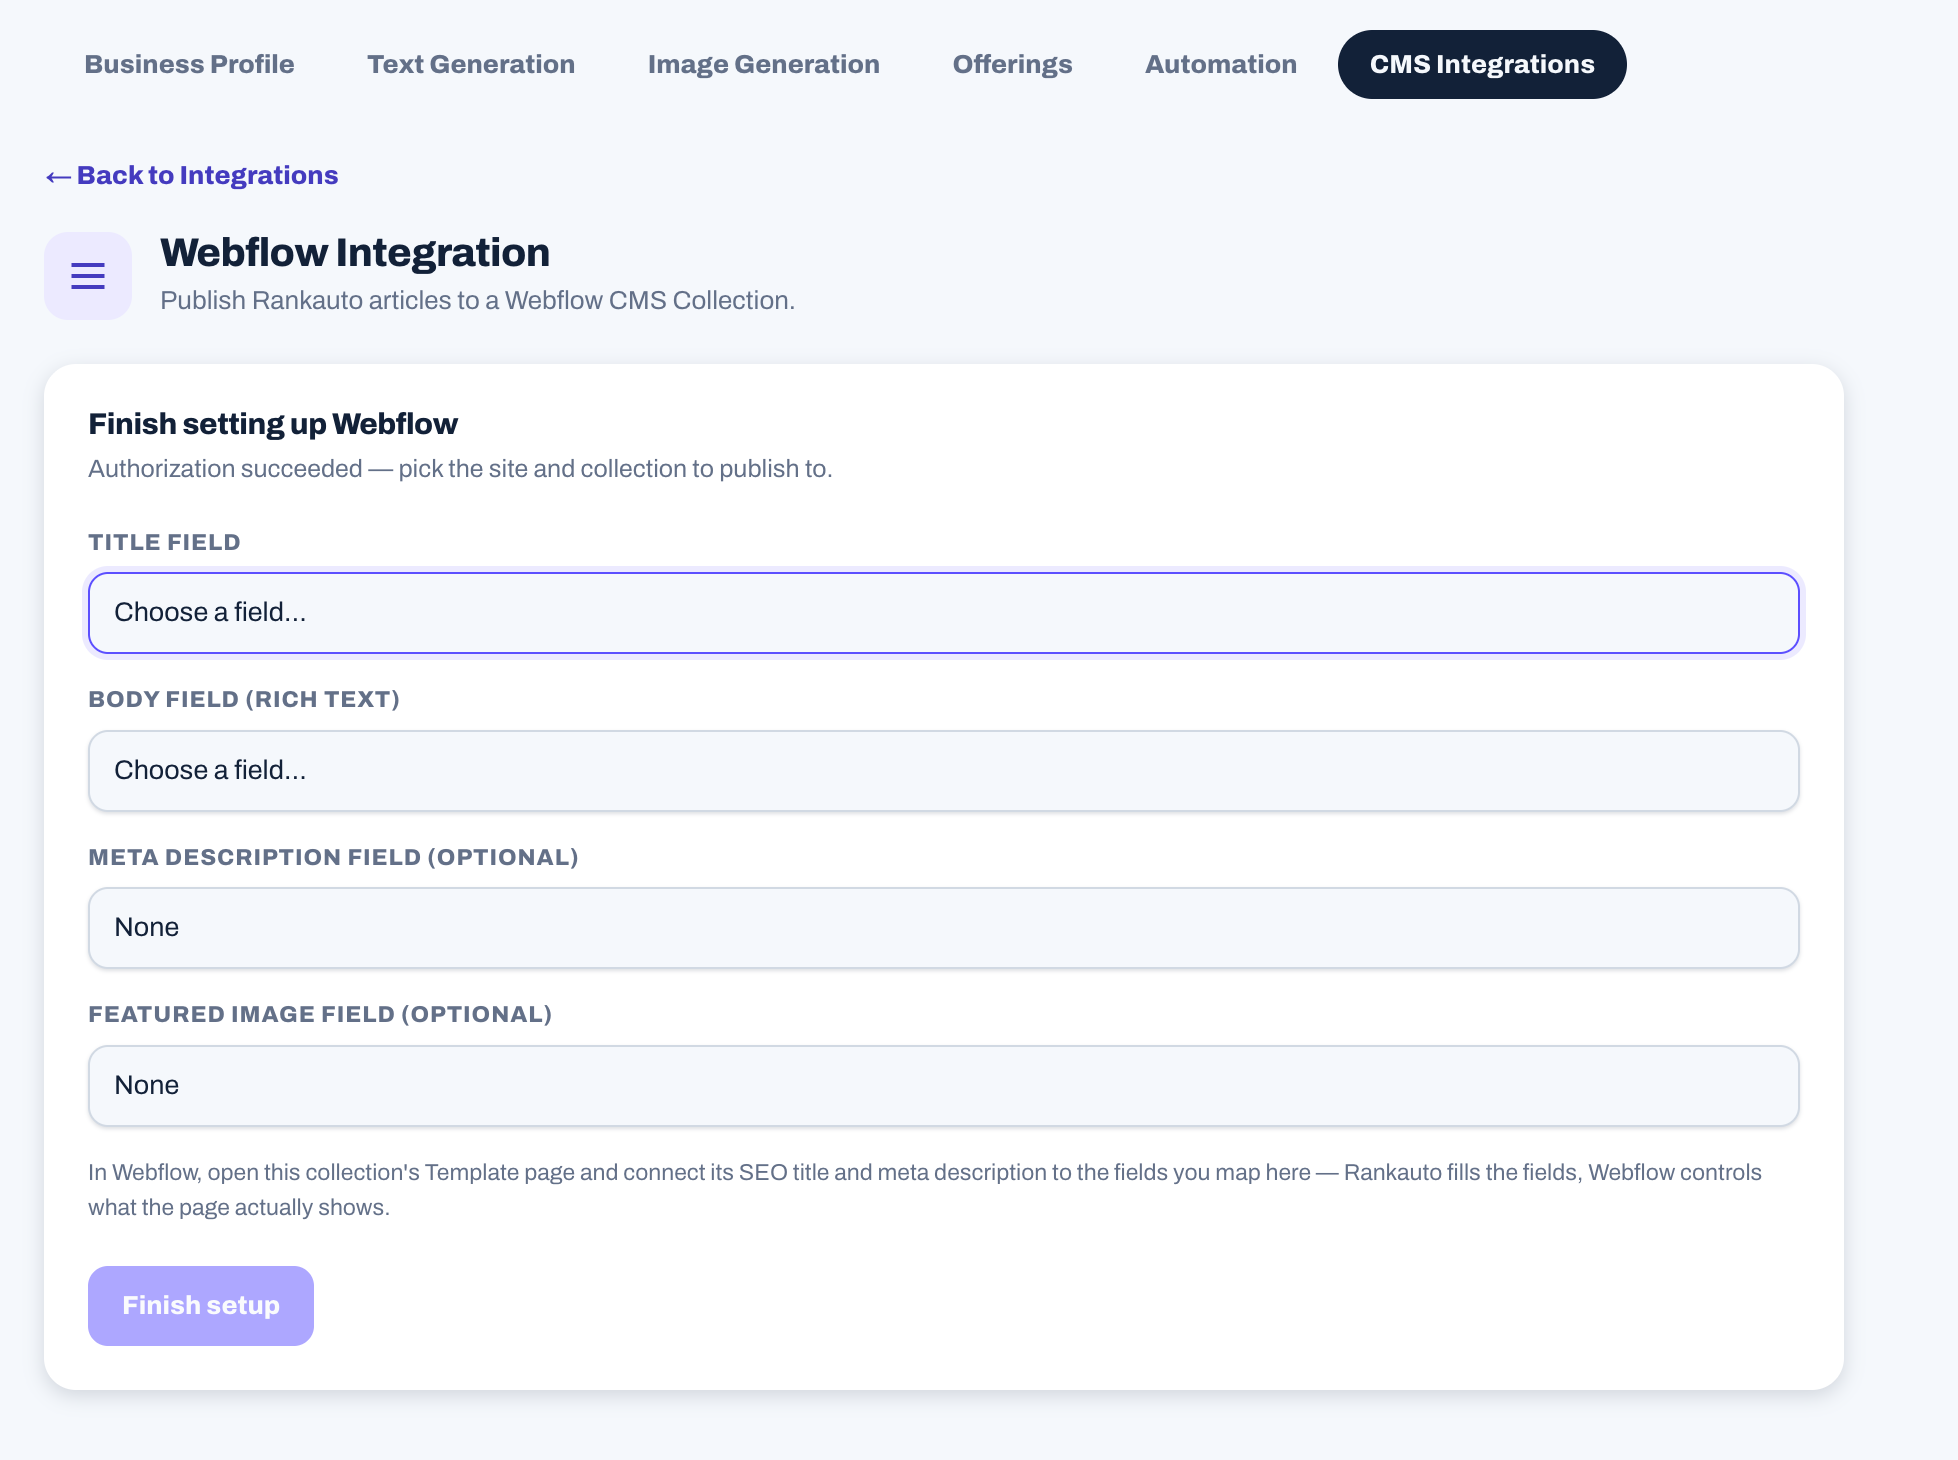
Once connected, open any drafted article in Rankauto and click Publish Now. Rankauto creates the CMS item and publishes it in one request.
You can leave setup partway through
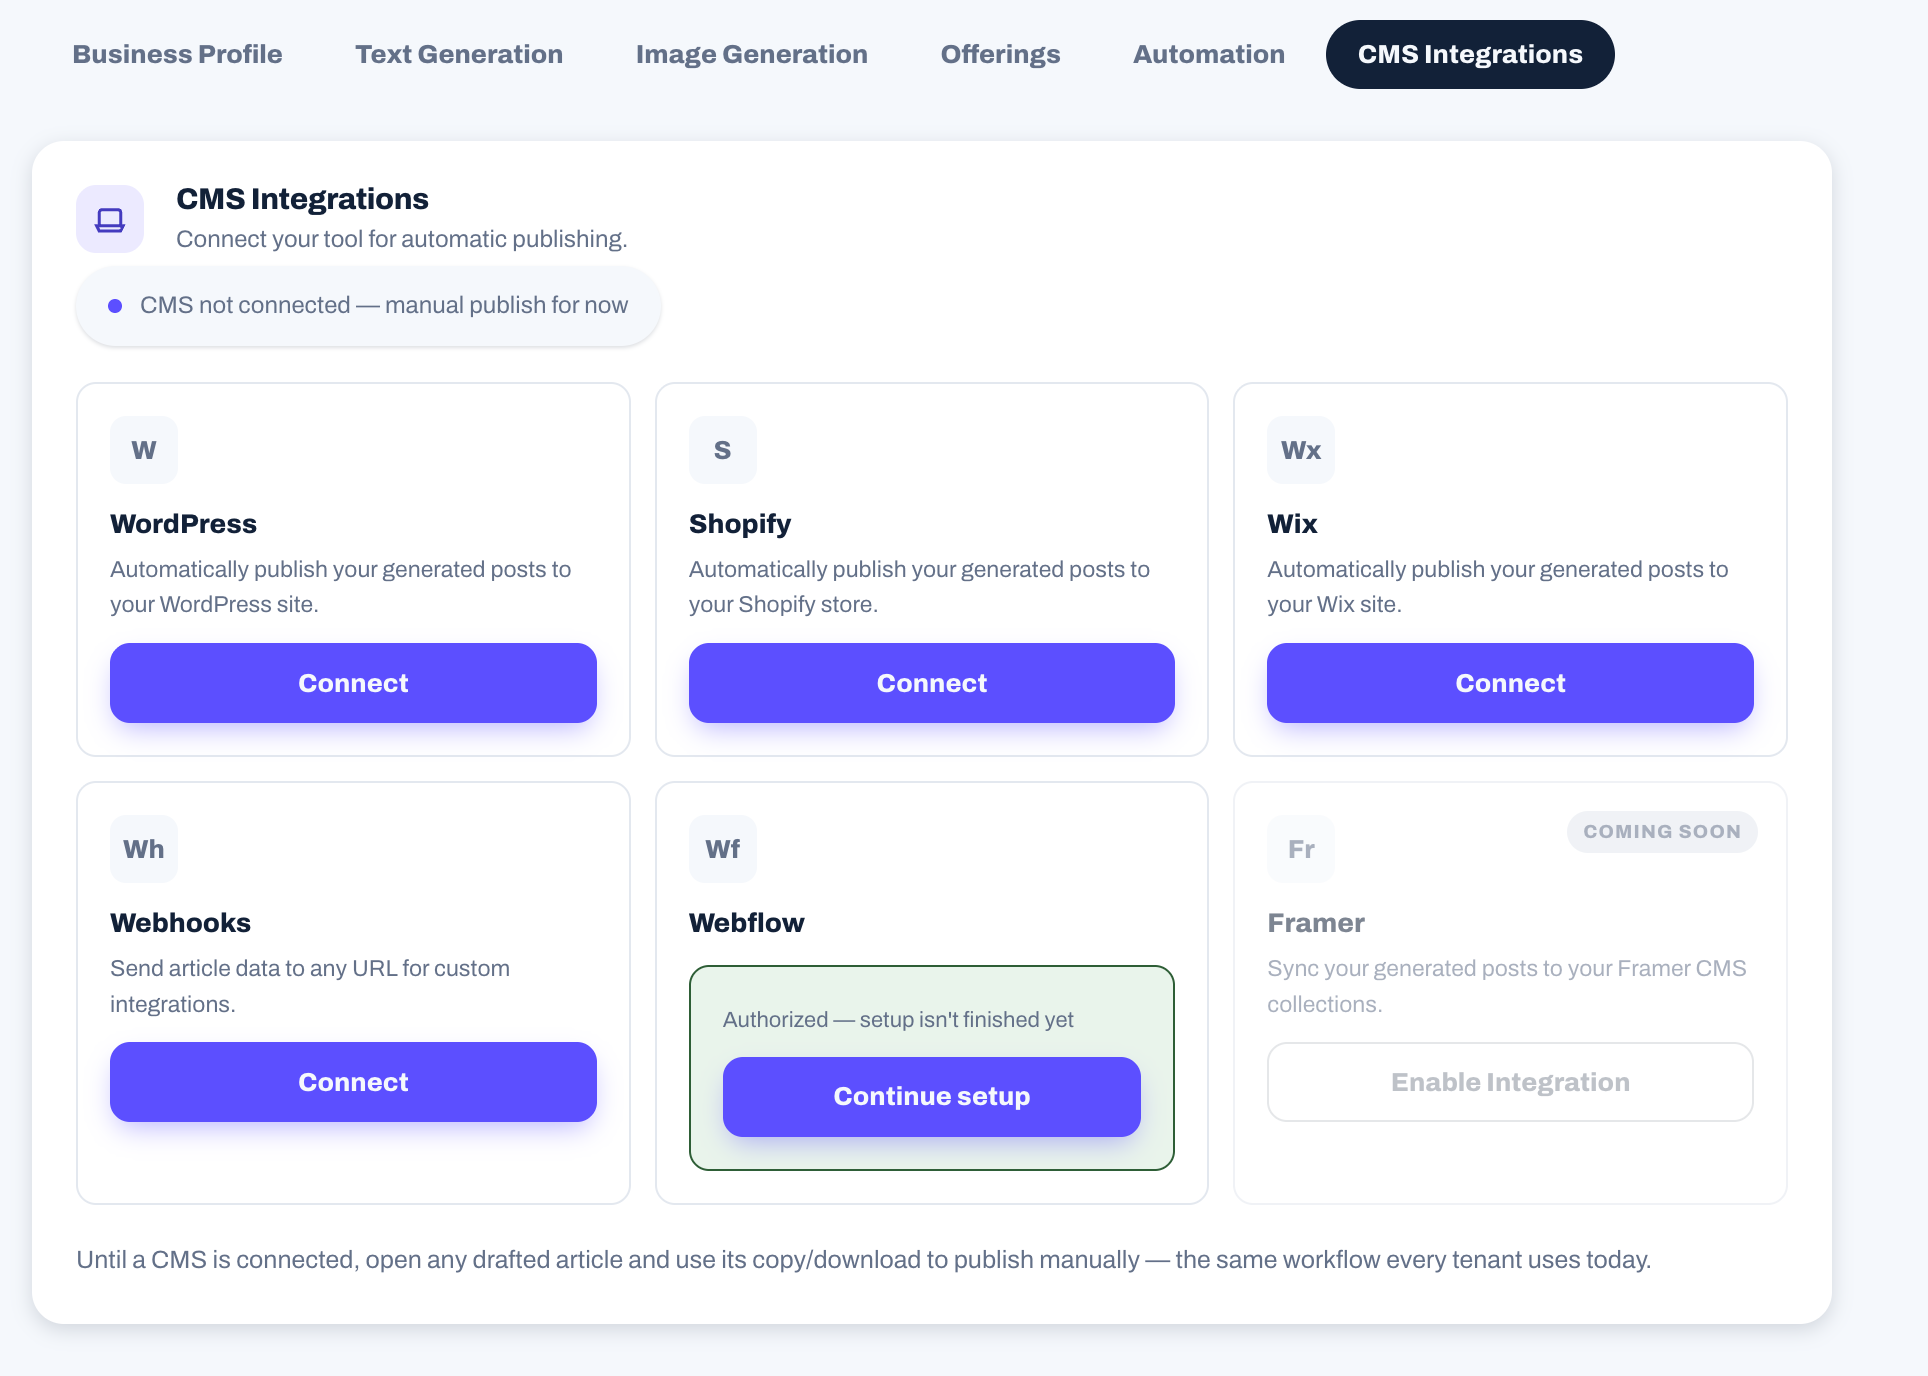
If you authorize Webflow but don’t finish picking a site, Collection, and field mapping, Rankauto remembers the authorization. Head back to Settings → CMS Integrations and click Continue setup to pick up exactly where you left off.
Updating published articles
After an article is published to Webflow, editing it in Rankauto and clicking Publish Now again updates the same CMS item in place, rather than creating a duplicate.
What gets set automatically
Every article Rankauto publishes to a connected Webflow Collection includes:
- The article’s title and body, written into your mapped fields
- A real URL slug matching what you see in Rankauto’s own dashboard
- Meta description and a featured image, when you’ve mapped fields for them
Troubleshooting
My article published in Rankauto but the site says it isn’t live.
Almost always means the Webflow site itself has never been published. Open it in the Webflow Designer, click Publish once, then click Publish Now on the article again in Rankauto — the CMS item already exists, so this retry just pushes it live.
Setup is blocked with a message about required fields.
A field on your Collection is required and isn’t something Rankauto can fill in on its own, most often a reference field like Author or Category. Either make that field optional in Webflow, or choose a different Collection.
My articles aren’t publishing.
Confirm the connection is still active under Settings → CMS Integrations → Webflow. If access was revoked from Webflow’s side, disconnect and reconnect from Rankauto.
Frequently asked questions
Can I connect more than one Webflow site?
No. Connecting a new site or platform replaces whichever CMS is currently connected. Disconnect the new one and reconnect the old one if you need to switch back.
Will articles show up on my live site right away?
Yes, once your Webflow site has been published at least once. Clicking Publish Now pushes an article live immediately. If you’d rather your scheduled daily articles publish on their own, turn on Auto Publishing under Settings → Automation, it’s off by default.
Can I unpublish an article from Webflow through Rankauto?
Clicking Unpublish marks the article as a draft on Rankauto’s own side and removes it from Webflow’s live site.
Do I need to create any API keys or tokens?
No. The whole connection runs through Webflow’s own sign-in and authorization screen — nothing to generate or copy by hand.
Other integrations
Set up Rankauto on another platform.
Ready to publish straight to Webflow?
Connect your site from Settings once you’re signed in, or start a free trial to try the whole workflow end to end.
Start 3-day free trial