AI Video Marketing: A 12-Step Production Workflow
Build an AI video marketing workflow in twelve steps, with a Descript storyboard, editing examples, caption checks, and destination playback review.

AI video marketing uses AI during planning, scripting, media generation, editing, captioning, or adaptation. A single video may combine recorded product footage, a human voice, AI-assisted edits, and generated background material.
Start with what the viewer should understand or do. A polished clip that shows the wrong interface, invents a product behavior, or hides the next step can fail at that task even when its visuals look impressive.
This twelve-step workflow takes a video from brief to destination playback. It includes an original storyboard for a documented Descript subtitle-export task. The storyboard is a proposed production exercise, not a video commissioned by Descript or a reported campaign result. Product references were checked in October 2026.
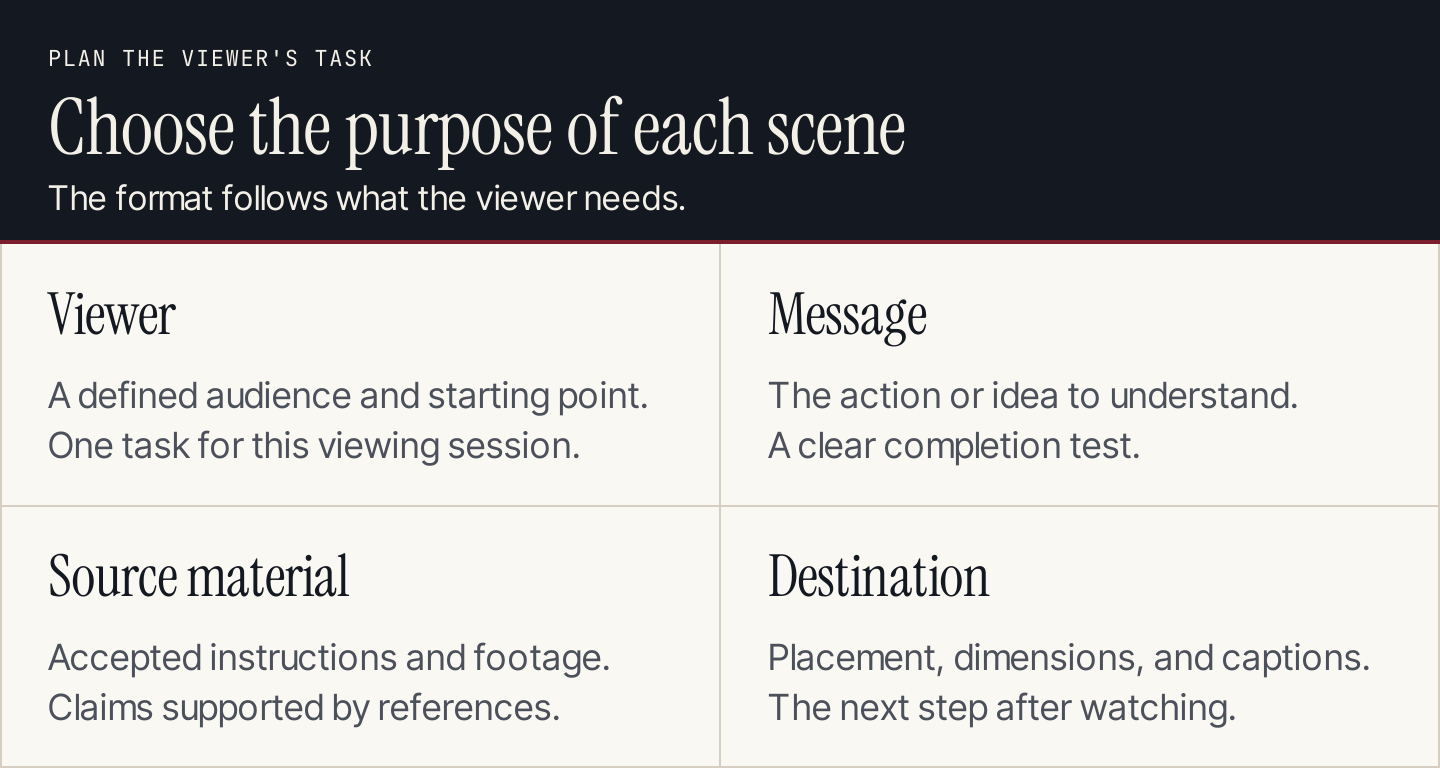
A clear task makes it easier to choose which scenes need recorded footage and which can use generated media.
1. Choose one viewer task
Name the audience, starting point, and next action. “Explain our platform” is too broad for a short tutorial. “Show an editor how to export subtitles for a separate caption upload” gives the production team a visible endpoint.
Our content strategy guide helps connect the task to a wider plan. The video's immediate job still needs to fit one viewing session. Save secondary features for another video or a linked guide.
Write the completion test before the script: after watching, could the intended viewer identify the right export choice and explain what file it produces?
2. Gather the accepted source material
Collect current product instructions, footage you can use, terminology, brand assets, and approved claims. Record which source supports each instructional statement.
For the worked example, use Descript's subtitle-export documentation. It distinguishes exporting subtitle files from displaying captions within the video. The tutorial should preserve that distinction rather than treating every caption option as the same output.
Capture the interface you will demonstrate. A generated imitation of a settings panel can look convincing while teaching controls that do not exist. If the interface changes before release, update the footage and narration together.
3. Write the script around visible actions
Give each sentence a job: establish the need, explain an action, clarify a choice, or direct the next step. Pair instructions with something the viewer can see.
An opening line for the Descript exercise could be: “Need a subtitle file to upload alongside your video? Export subtitles separately, then check the file on the destination player.” This is original instructional copy based on the documented task, not a quotation from Descript.
Do not add unsupported promises about accuracy or time saved. The script can explain the task without claiming the tool produces flawless subtitles.
4. Turn the script into a storyboard
The storyboard links each line to a shot, on-screen text, and a review requirement. The proposed timings below total 45 seconds; they are an editorial plan, not measured completion times.
| Time | Shot | Proposed narration or text |
|---|---|---|
| 0–6 seconds | Title card, then a video player | “Need a separate subtitle file for your video?” |
| 6–14 seconds | Recorded Descript export interface | “Open the export options and choose subtitles.” |
| 14–24 seconds | Close view of the subtitle settings | “Choose the format your destination accepts, such as SRT or VTT.” |
| 24–32 seconds | Subtitle file beside the video asset | “A separate subtitle file is different from captions displayed inside the video.” |
| 32–40 seconds | Destination player with captions enabled | “Upload the file where supported. Check timing, names, and line breaks.” |
| 40–45 seconds | Closing card with the help-page destination | “Use the full export guide when preparing your next version.” |
The third shot needs a current interface recording. The fourth can use a simple original diagram. The fifth requires a destination player that accepts the chosen file type. Do not pretend a mockup proves the upload worked.
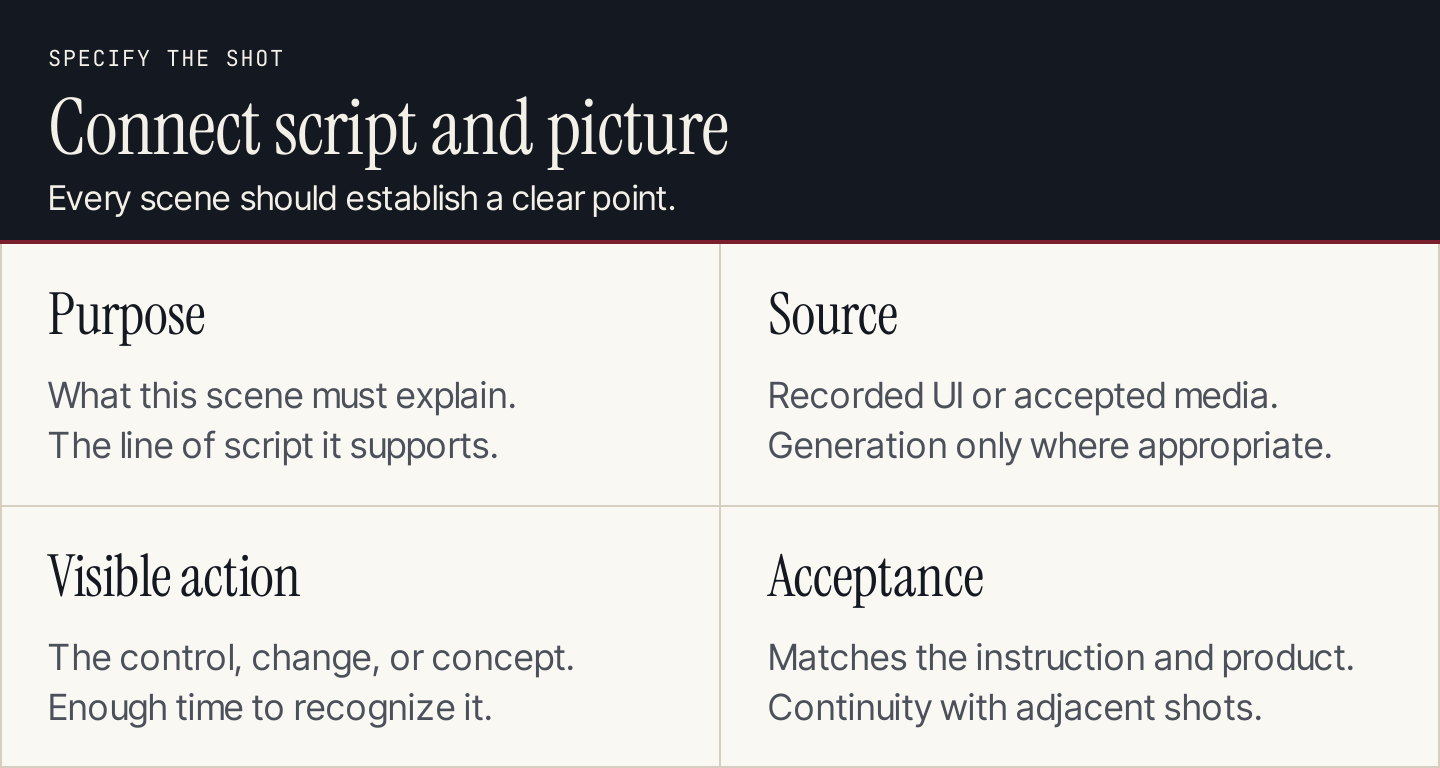
A shot specification tells the editor what the scene must establish and how it will be checked.
5. Choose the production route for each shot
Use recorded footage when the viewer needs to trust a product action, demonstration, or result. Use a presenter when explanation and delivery matter. Generated scenes can provide atmosphere or illustrate a concept that does not depend on a factual depiction.
Synthesia's AI-video guide describes both generated clips and a business-video editing workflow. These are different production routes: generating a shot is not the same as finishing the whole sequence.
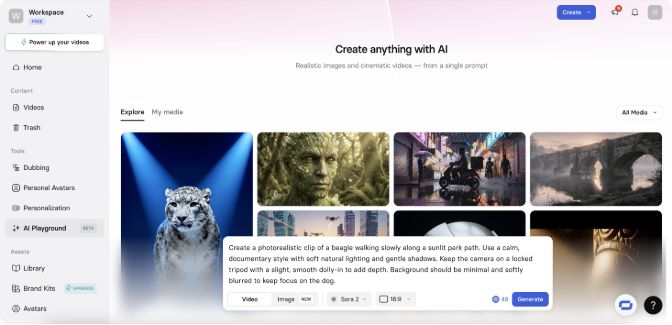
Synthesia illustrates a clip-generation interface. Choose generation for an appropriate scene, then edit it into the wider sequence. Source: How to make AI videos.
For the Descript tutorial, use recorded UI for the export action. An abstract generated background is optional; it adds little if it distracts from the controls the viewer needs to recognize.
6. Define references and continuity
When generating several related shots, establish the subject, environment, color treatment, camera behavior, and fixed details before producing variations. Save the accepted references with the shot list.
A product must keep its shape and identifying details. A person should not change appearance between adjacent shots without a reason. A sequence that shifts lighting or movement unexpectedly may look like several unrelated clips.
For screen recordings, continuity also means the same account context, document, and interface state. Do not cut from one settings choice to an output that came from another choice. Record the transition or explain the jump.
7. Generate bounded variations
Change one meaningful variable at a time. If the camera angle, subject, setting, and duration all change together, it becomes difficult to understand why one version works better.
Here is an optional prompt for a conceptual transition shot, not the product demonstration:
Create a short abstract transition showing three layers of text
aligning into one orderly sequence on a neutral background.

Use a restrained charcoal, warm white, and burgundy palette.
Keep the camera still and the movement slow.
No logos, interface controls, readable words, people, or product claims.
End with a clean composition that can cut to recorded screen footage.
The prompt deliberately avoids asking a video model to reproduce a software interface. If the concept still distracts from the lesson, omit the shot. More generated footage does not necessarily make a clearer video.
8. Build the first edit
Assemble the accepted footage around the script. Check whether the viewer sees an action while hearing the relevant instruction. Trim pauses that slow comprehension, while leaving enough time to recognize the control or result.
Descript's Underlord primer documents natural-language editing assistance within a video workflow. An editing request can describe the desired change, but the result still needs to be reviewed in the sequence.
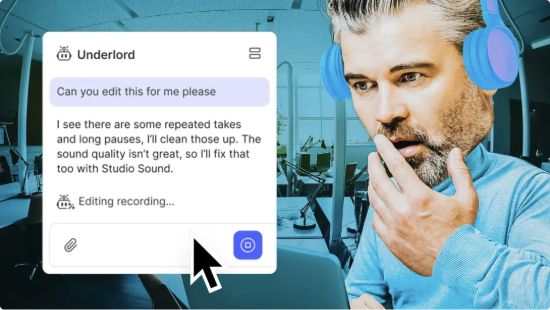
Descript illustrates an editing assistant working with a video project. Inspect the resulting edit against the script and footage. Source: Underlord primer.
A stronger editing request is “shorten the pause before the subtitle-format choice while keeping the full instruction audible.” “Make this engaging” gives the editor much less direction.
9. Review claims, fidelity, and continuity
Watch the first edit once for meaning, once for visual continuity, and once for factual accuracy. Those passes answer different questions.
For the tutorial, check that the selected export type matches the narration. Confirm that no crop hides the label the viewer needs. Make sure the final player shot uses the described subtitle asset rather than an unrelated prepared example.
For generated product or presenter scenes, inspect changing details frame by frame where needed. Remove invented badges, distorted text, inconsistent packaging, and visual implications the source material does not support. A disclaimer at the end does not repair a misleading demonstration in the middle.
10. Check captions, voice, and sound
Review names, technical terms, numbers, timing, line breaks, and speaker identification. Listen for words cut by an edit and background sound that competes with the instruction.
Descript's subtitle help documents separate SRT and VTT exports and settings such as speaker labels and line limits. Choose the format required by your destination and inspect the exported text.
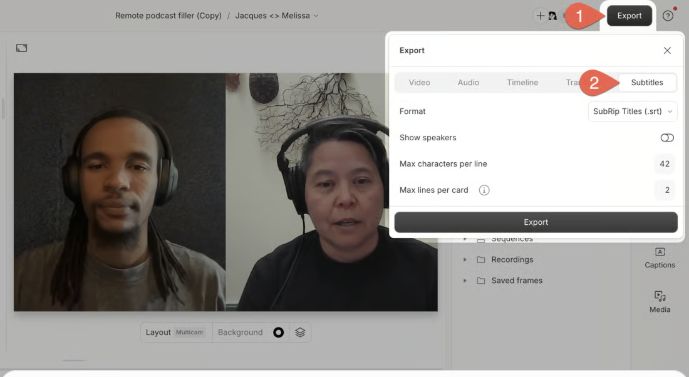
A subtitle export has its own settings. Check the file as well as the video preview. Source: Export subtitles in Descript.
For a localized version, have a reviewer who understands the target language check pronunciation and captions. Correct text and natural spoken delivery are related tasks, but one does not prove the other.
11. Export and inspect each destination version
Choose dimensions, duration, audio, and caption treatment for the intended placement. Inspect the finished export, not only the editing timeline.
On a phone, check that interface labels and on-screen instructions remain readable. A wide screen recording may need a closer crop or a separate vertical edit. Keep important controls away from areas covered by the destination's interface.
Open the uploaded draft where the audience will watch it. Test sound, captions, thumbnail, title, link, and playback. If you distribute several adaptations, use a version record so the accepted script stays connected to each exported file. Our content repurposing guide explains how to adapt a source without losing its meaning.
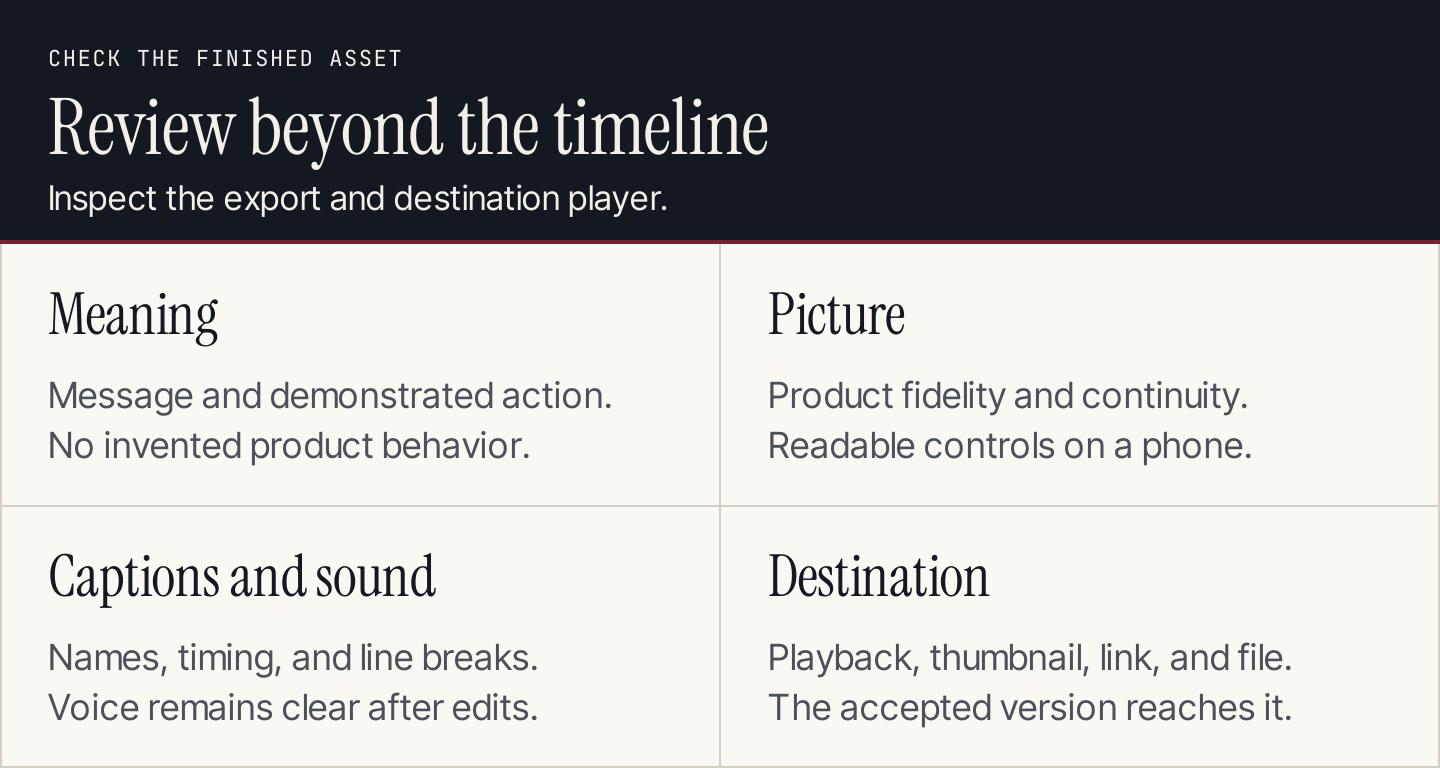
Review the exported file and the destination player before calling the video finished.
12. Measure the task the video was built to serve
Use the original viewer task to choose the outcome. For a tutorial, investigate whether viewers can complete the described action and where they become confused. For a promotional video, define the intended next step and track it alongside viewing behavior.
Completion rate can help locate a weak section, but it does not establish that the viewer understood the instruction or became a customer. Compare placements and versions with their context intact. Do not treat a short clip's completion rate as directly equivalent to a longer tutorial's rate.
Use our UTM builder for campaign links when appropriate, and our content performance guide to connect attention with the next action. Record what you changed between versions so the review can inform the next brief.
A production checklist to keep with the project
Before release, confirm that the folder contains the accepted brief, source references, script, shot list, footage versions, export settings, caption files, and destination checks. Name the person who can update it when the product changes.
For the Descript exercise, completion means the video demonstrates the documented export task, distinguishes separate subtitles from in-video captions, and shows the chosen file working on the intended player. It does not require an AI-generated scene. Use AI where it improves a defined production step.
Where Rankauto fits in the content plan
Rankauto creates researched blog articles and supports publishing, with drafts by default. It does not generate or edit video. Use a blog article as a source for a related video brief, then use a video tool and this production workflow to create the finished asset.
Questions about AI video marketing
Can one prompt produce a finished marketing video?
A tool may generate a clip or assemble a first version. A finished marketing asset still needs a checked message, suitable footage, captions, export settings, and destination review. The required work depends on the video.
Do all scenes need AI-generated footage?
No. Recorded demonstrations, interviews, original diagrams, and generated media can serve different roles. Choose the medium that establishes the point the viewer needs to understand.
What should I automate first?
Start with a repeatable task whose result you can inspect, such as a transcript-based edit or first caption draft. Keep the review step until you understand the corrections the task repeatedly needs.